

With more than 30,000 games under its belt, Steam is one of the most popular gaming platforms out there. And as a gamer, you must love taking screenshots of those moments of glory while playing. Moreover, taking a screenshot on Steam is the easiest way to report a technical issue.
PRO TIP: Click Here to Skip Directly to our Recommendation!
If you’ve recently started using Steam and don’t know how to take screenshots on this platform or where to locate them on your device, read on. Ready to capture your favorite gaming moments on Steam. Here’s how to take screenshots in Steam games on Mac or Windows.
How To Take Screenshots In Steam Games
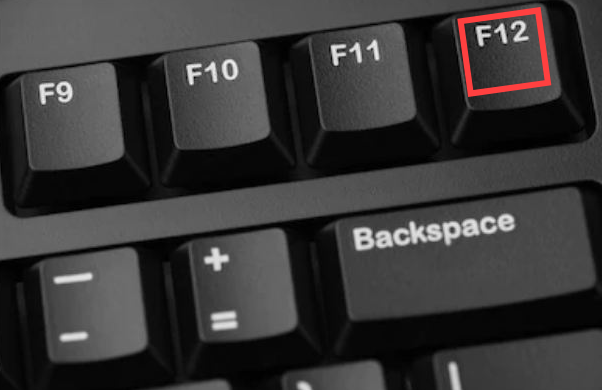
To take a screenshot in Steam Games, all you need to do is press the function key ‘F12’.
Where Is The Steam Screenshot Folder In Your Computer?
You can find all your screenshots in Steam itself. Go to the Menu bar and click on ‘View’. From the drop-down menu, select ‘Screenshots’. All your screenshots will be saved in there. If you want to locate the folder on your computer, simply select the option ‘Show On Disk’. This will open your file explorer and take you to exactly where your screenshot is located on your PC.
If you want to locate Steam screenshots on your PC, go to Steam’s installation directory.
On all Windows models, be it Windows 8 or Windows 10, the default location is Local Disk C: > Program Files (x86) > Steam.
If you’re a Mac user, the default location is ‘Users’ > [username] > Library > Application Support > Steam. Note that the username here is your Mac username and not your Steam username.
Lastly, if you’re a Linux user, the default location is ~ > .local > share > Steam.
How To Take Screenshots In Steam Games On Windows 10
If you’d like to use Windows’ native features to take a screenshot in Steam games, you can do that as well. All you need to do is press the Windows key and Print Screen (Prt Sc) together. This screenshot will be saved in OS C: > Users > [username] > Pictures > Screenshots.
Alternately, just go to Xbox Game Bar by simultaneously pressing the Windows key and ‘G’. Click on the camera icon that says ‘Capture’. This will display another box of options. Click on the icon saying ‘Take screenshot’. Your screenshots will be located in the default screenshot folder at OS C: > Users > [username] > Videos > Captures.
How To Take Screenshots In Steam Games On Mac
If you’re using a Mac, all you have to do is press Cmd, Shift, and 4 together. Your screenshots will be stored at [username] > Library > Application > Steam > Screenshots. And you’re good to go!
Better Alternative: How To Take Screenshots In Steam Games Using Markup Hero
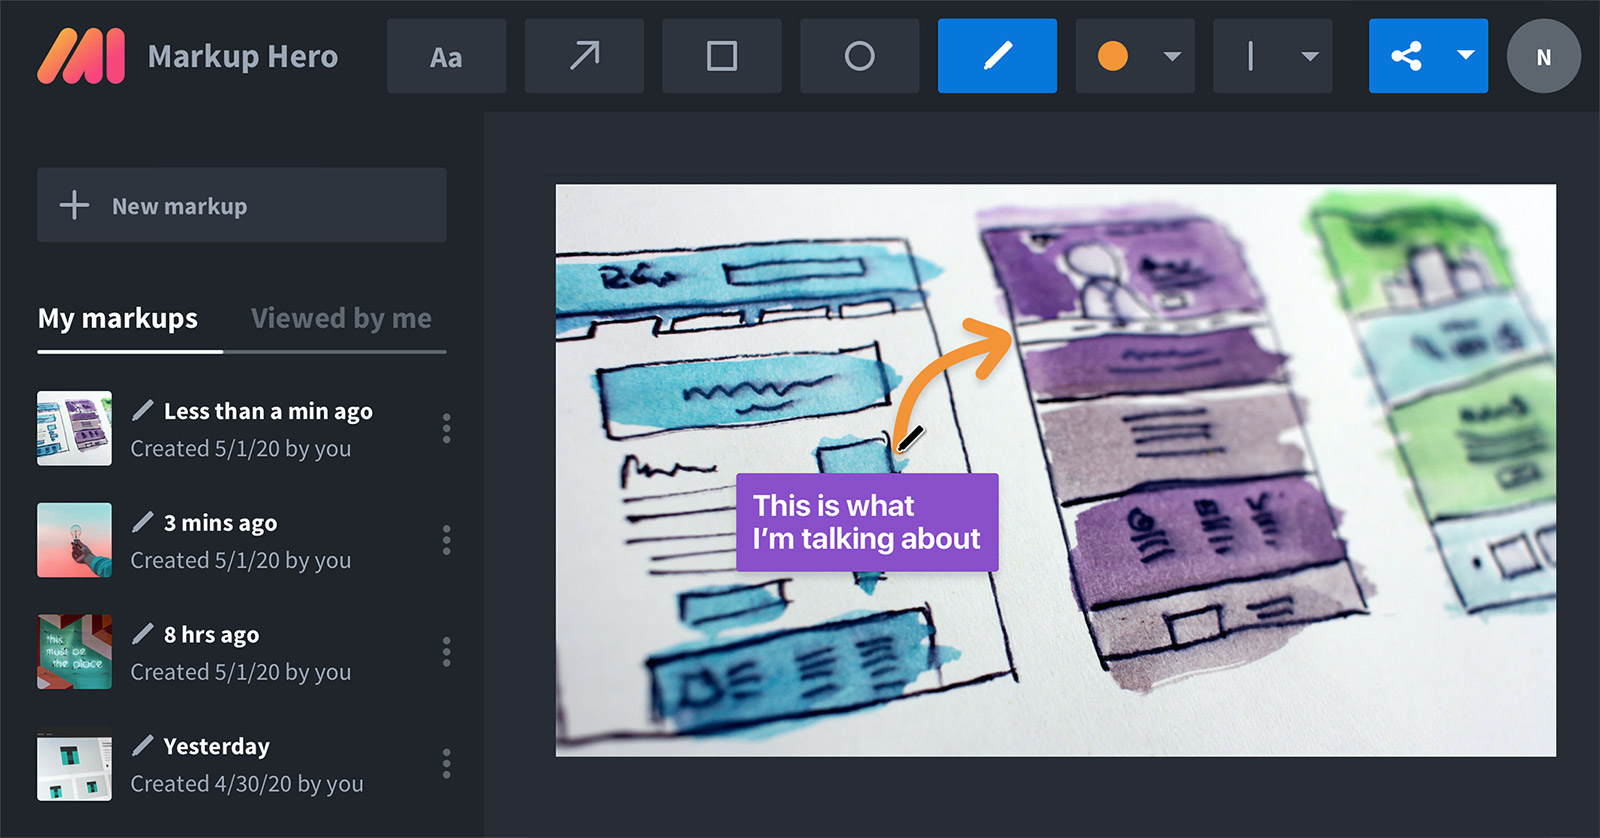
If you’re looking for a set of rich features and don’t mind installing an additional tool that not only lets you capture screenshots but also edit them, you should definitely give Markup Hero a try.
Markup Hero lets you capture full-screen as well as partial screen images and is compatible with Mac, Windows, Linux, and Chrome. You can mark certain places in your snapshot, annotate those, and share them with your gaming friends.

Why you'll want to get Markup Hero for Steam Screenshots
- Universally Accessible - When you take a screenshot with Markup Hero it is instantly saved in a secure cloud storage location so you can access it from any computer, any device, any OS, anywhere in the world at any time.
- Instantly Sharable - Markup Hero will create a share link automatically so you can quickly send your screenshots to anyone, anywhere and through any program like Discord, Slack, iMessage, SMS or email.
- Add Annotations - Sometimes a screenshot just doesn't tell the full story. Use Markup Hero to add arrows, boxes, ovals, highlights, callouts and more to fully explain your gaming experience.
- Forever Editing - Once you add your annotations, they can be edited, changed, copied and duplicated whenever you want. Even the share links you send out will automatically update and reflect all your markup changes.
- Organization - Once you start getting a lot of screenshots and annotations, you'll probably want to organize them for later use. Whether walkthroughs or favorite experiences, you will never lose a single thing. Use tags and folders to keep everything where you want it.
- Multi-Page - Need to group a bunch of screenshots together and share with a single link? Yep, you can do that with Markup Hero.
Best of All, Markup Hero is Free
- The first thing you need to do is download the Markup Hero app. It’s free of cost and you don’t need to sign up for anything.
- Once the download is done, go to Local Disk (C:) > Users > [username] > Downloads and double-click on the .exe file to start installing Markup Hero. If you’re on Mac, go to your home screen and select ‘File’ from the Finder Window. Click on ‘Downloads’ located on the left side of the window that pops up.
- And that’s about it. If you’re using a Windows computer, press Ctrl + Shift + 1 together to start Markup Hero. If you’re on Mac, press CMD + Shift + 1 simultaneously to get started.
- Once you capture either a fraction or the entirety of your screen using Markup Hero, your screenshot will be uploaded on the web. Markup Hero will then offer you a set of tools to work with using which you can mark, edit, and annotate the image.

Final Words
Although your Windows or Mac computer may have a number of ways to capture a screenshot, it may not be as fun as having an application with such a wide variety of rich features. As a gamer, you ought to make your snapshots as fancy as possible.
Using Markup Hero, you can not only take screenshots but also mark and share them with your friends seamlessly. Regardless of the method, make sure you’re capturing your screen at the right moments!