
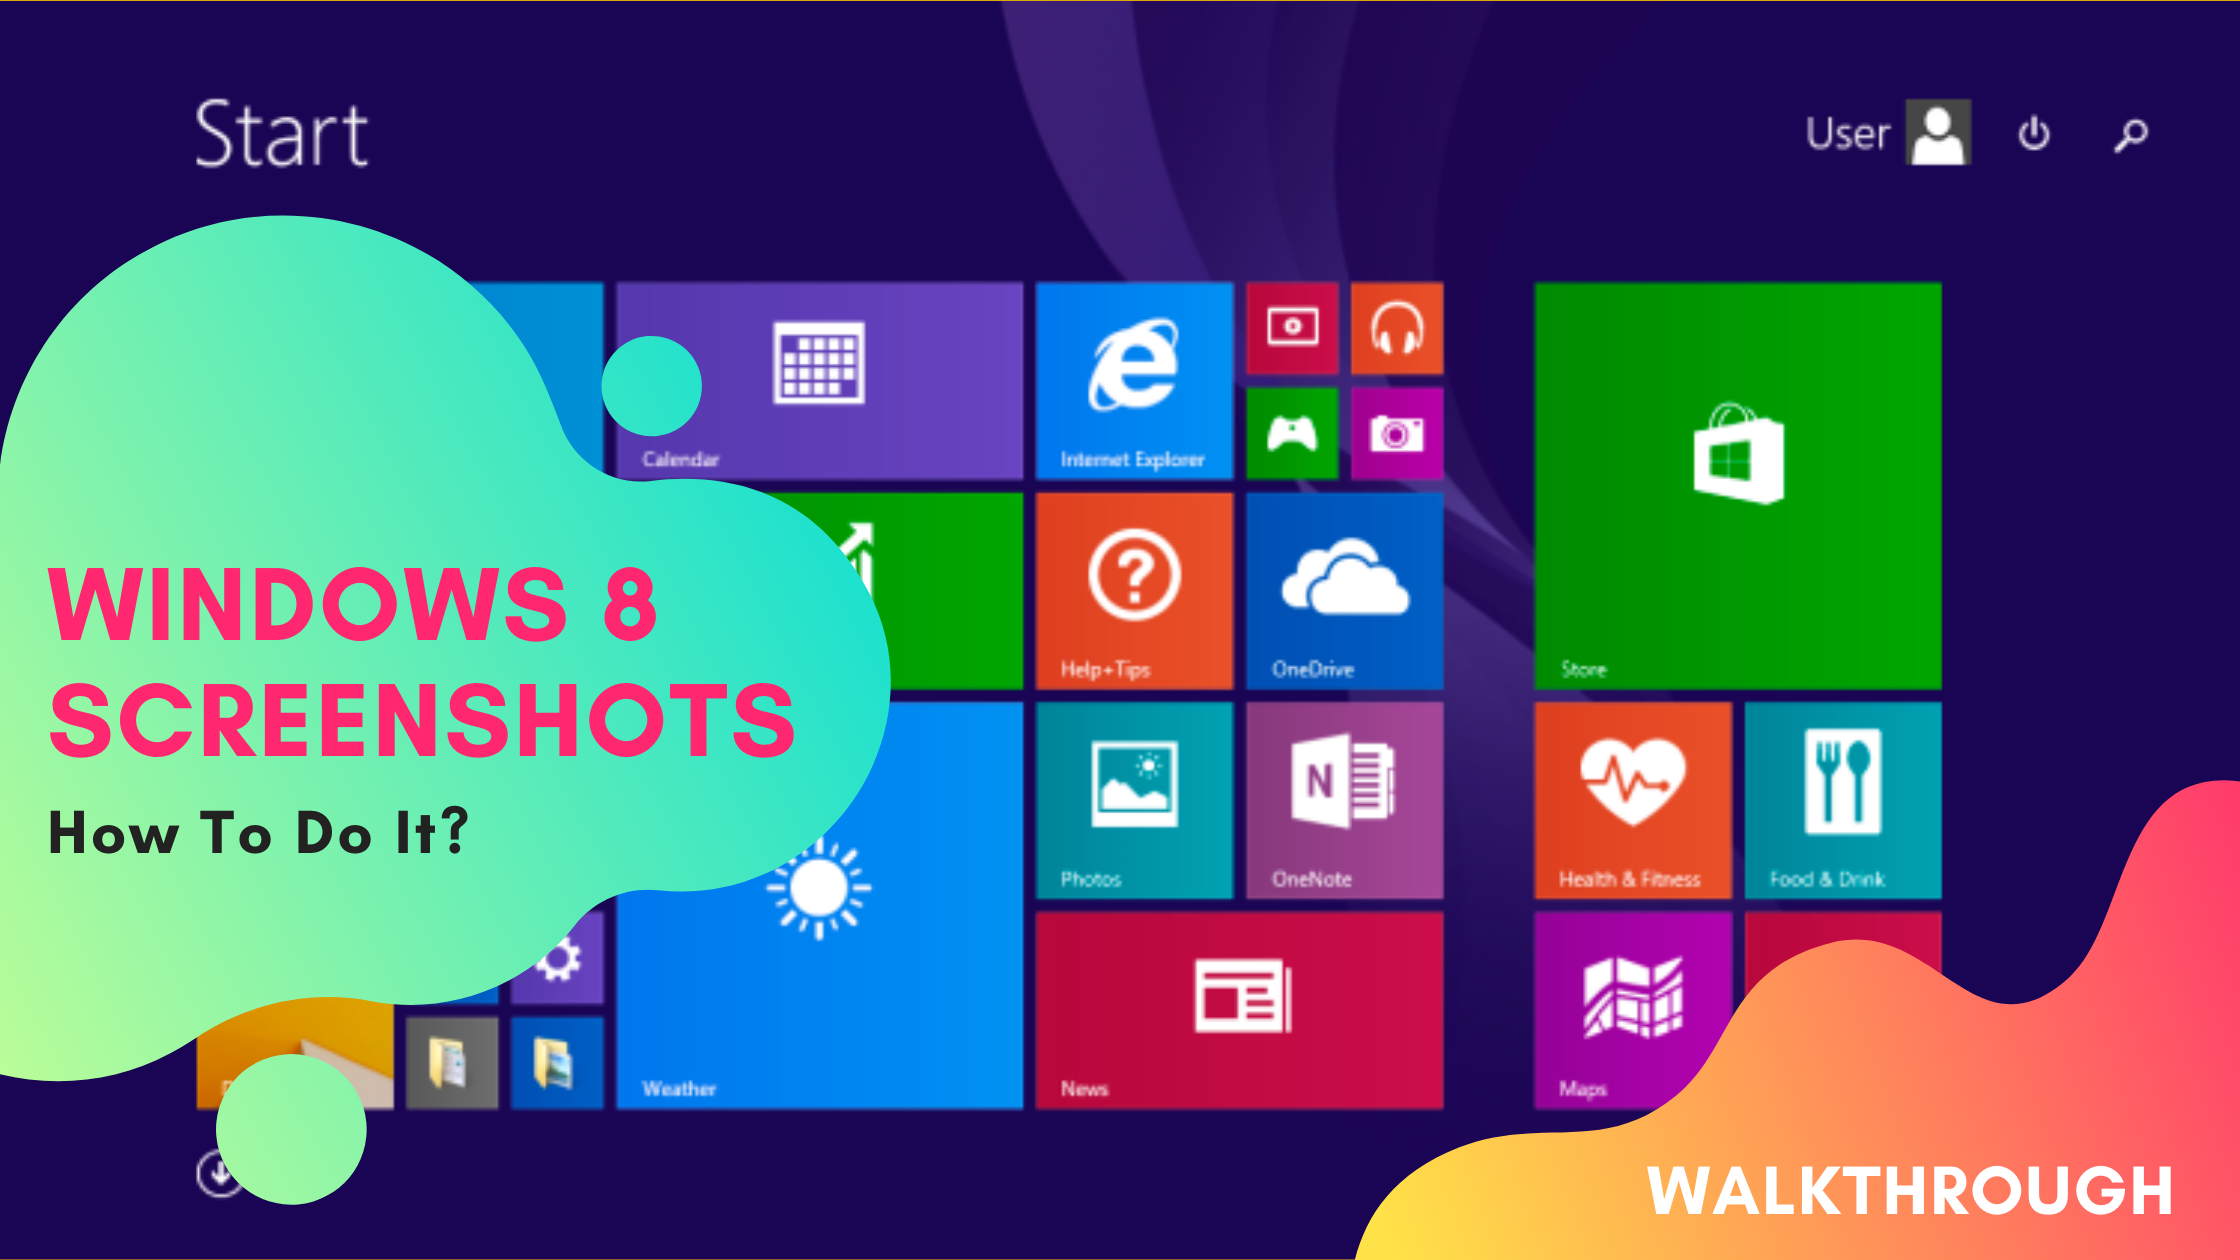
The method of taking a screenshot can vary from one Windows model to another. Here’s how you can take a screenshot on Windows 8.
PRO TIP: Click Here to Skip Directly to our Recommendation!
A screenshot, also known as a screencap or a screengrab, is perhaps the handiest tool this modern age of technology has to offer. Using the combination of just a few keystrokes, you can capture everything that’s displayed on your screen. You no longer have to write lengthy texts to your friends explaining what you saw on the internet the other day. One screenshot - and they’ll know exactly what you’re talking about.
A screenshot can also prove to be helpful at your workplace. Let’s say your teammate mailed you a brochure they want you to look at. After you take a look at it, you feel like a few improvements can be made. Instead of writing a wordy paragraph, you can just take a screenshot and mark all the places that need fixing. Imagine how much of your time and energy that will save, and you’ll understand why screenshots are so important.
A screenshot also comes in handy when you want to archive something from the past. Just think of Google’s logo and how it has changed over the years. Using screenshots, you can depict every one of them and highlight all the differences between its past and present self.
How To Take A Screenshot On Windows 8
Windows 8 is actually the first version of Windows to incorporate a built-in screenshot feature. Here, we’ll show you a number of convenient ways to capture a screenshot on Windows 8. Read away!
Method - 1: Windows Key + Prt Sc
The first thing you need to do is open the app or screen that you want to take a screenshot of. Next, press the Windows key and Print Screen (Prt Sc) together. You will see your screen dim for a second which will imply that your screenshot has been successfully taken.
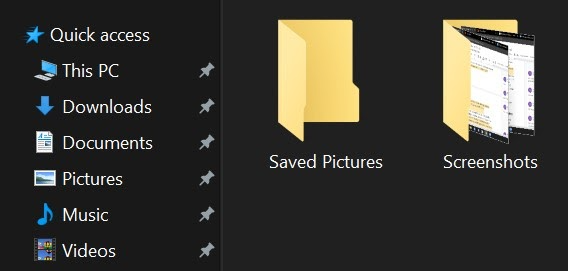
To locate the screenshot, simultaneously press Windows + E to open File Explorer. Go to the ‘Pictures’ folder located on the left side of your screen. You’ll find all your screenshots under the same name in chronological order.
Alternatively, you can also press ‘Ctrl + V’ to paste the screenshot instantly on a graphics editing tool like Microsoft Paint and save the image.
Method - 2: Snipping Tool
The snipping tool is another built-in Windows feature that lets you capture your favorite moments on screen. It also allows you to choose how much of the screen you want to capture.
To access the Snipping Tool, click on the Start Menu and type ‘Snipping Tool’ in the search bar. The application will open and give you a number of options to work with.
How To Take A Screenshot on Windows 8 Using Snipping Tool
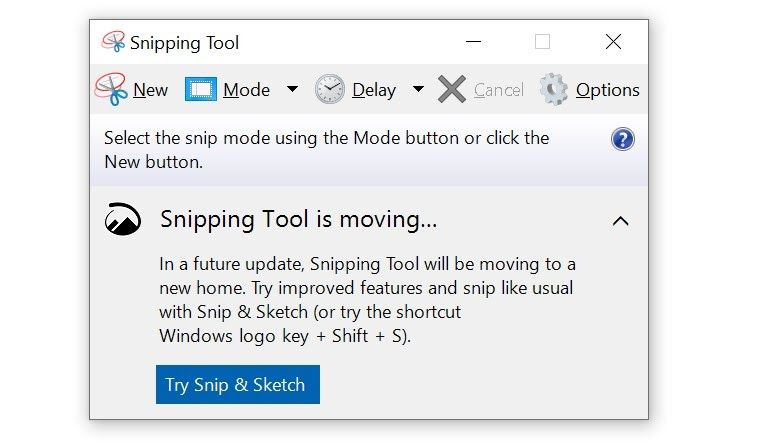
Before taking a screenshot, you can select your desired shape from four different modes in the Snipping Tool. The rectangular snip is the standard form among them. Apart from that, there are three other forms through which you can capture your screen:
- The Window Snip allows you to capture your active window with one simple click.
- The Free-form Snip allows you to capture your screen in any shape you desire.
- The Full-screen Snip captures your entire screen at once. This is especially useful for users with dual monitors because the Full-screen Snip enables them to capture both the screens.
Once you’ve chosen your desired mode, press ‘Ctrl + N’ together or click on ‘New’. Using the crosshair icon, capture your screen and then save it in your desired location by pressing Ctrl + S.
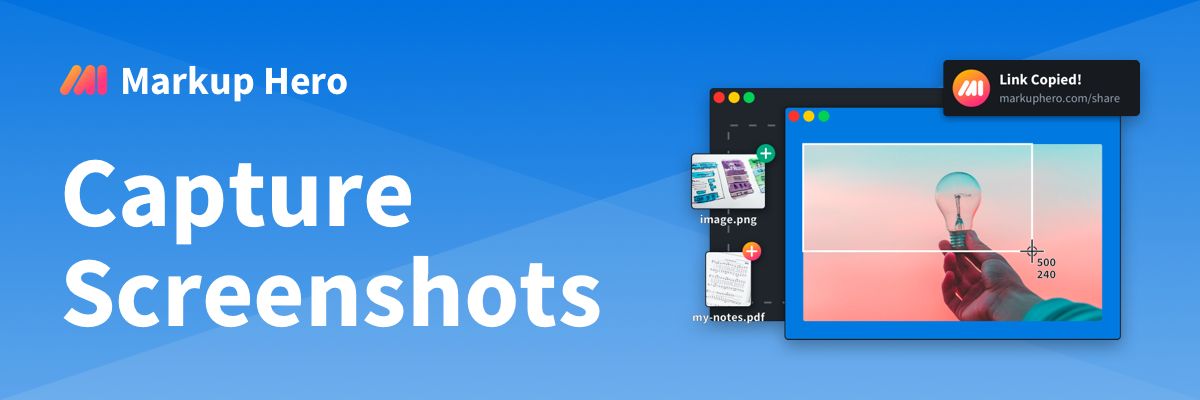
Best Alternative: Take A Screenshot On Windows 8 Using Markup Hero
Whether you take one screenshot each week or five a day, you'll want to try Markup Hero. And if annotating those screenshots is something you're going to need, which almost certainly you will, then Markup Hero is going to be your best friend. You can take screenshots either by installing the free desktop app for Windows 8 or using their Chrome extension.

When it comes to adding annotations like arrows, boxes, highlights, text, insert images, crop and tons more, Markup Hero is the big winner because you can upload images, PDF's and of course screenshots. You can also annotate Google Docs, Sheets and Slides. Once you take a screenshot or upload a file, you'll get an instant share link you can send via email, SMS, Slack or any other communication tool.
Here’s how to take a screenshot on Windows 8 using Markup Hero:
- The first step would be downloading the Markup Hero app. It’s free and you don’t need any signing in.
- Once you have downloaded the tool, go to the ‘Downloads’ folder of your device and double-click on the .exe file to start the installation process.
- And you’re all set! Simply press Ctrl + Shift + 1 together to start the application. Once the crosshair icon appears, drag it around your screen to capture your screenshot.
- Once you have captured either a part or the entirety of your display, Markup Hero will upload the snapshot on the web and offer you a number of rich features to work with. You can use these features to highlight, edit, and annotate your image.
Amazing Features from Markup Hero
In addition to improving upon the native Windows 8 screenshot capabilities, Markup Hero gives you a ton of unique features you're going to love. Here are few highlights.
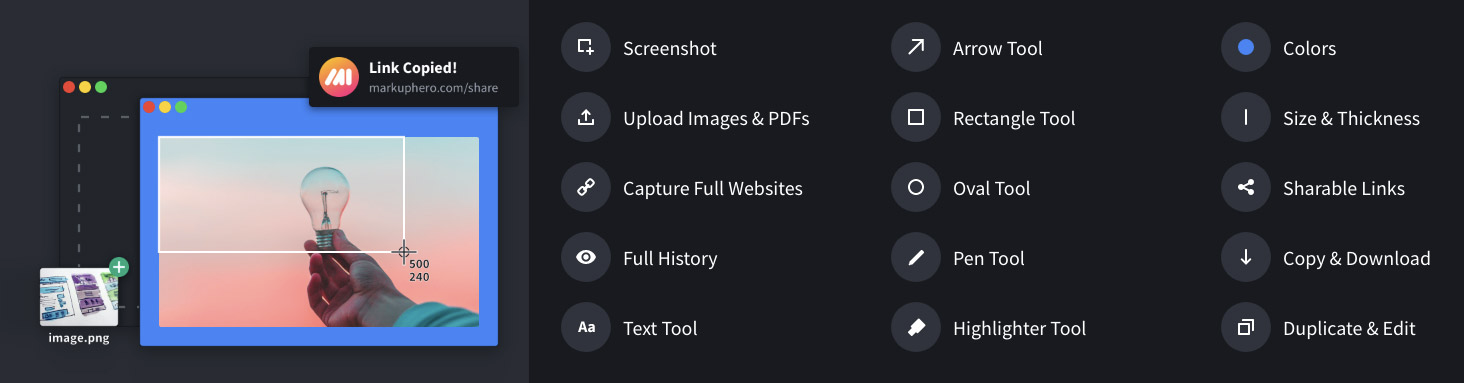
- Annotate Anything - Screenshots, image uploads, PDF's, Google Docs, Sheets, Slides and many more coming soon.
- Instant Share Links - Share links are created automatically when you take a screenshot or when you upload a new file. Set permissions to public so anyone with the link can see your markup or private so only you can.
- Multiple Pages - Upload multiple images at once or a PDF with dozens of pages or just click to add a page to a markup. Share everything with a single link.
- Insert Images - Got a screenshot or markup and you want to insert images? No problem, just copy and paste or click to choose from Windows 8 explorer.
- Slack, Discord and Google Drive Integrations - Paste links and see instant previews in tons of applications and annotate files directly from Slack.

Final Words
Windows 8 undoubtedly has a good number of options using which you capture your screen. However, using a tool like Markup Hero is not only fun but also efficient. It’s a tool that makes editing, accessing, annotating, and sharing all your screenshots absolutely seamless. You can download it for free and see for yourself what this powerful tool is capable of.