
There is no fun in building a huge empire or going on wild expeditions in Minecraft if you can not show them off to your friends. How many times have you wanted to take a screenshot while grinding in Minecraft? And even if you figured out how to take a Minecraft screenshot, you might be wondering where the screenshot folder is in Minecraft. Here’s a quick "how to" take a screenshot in Minecraft and locate that folder.
PRO TIP: Click Here to Skip Directly to our Recommendation!
What is Minecraft?
Skip this section if you have been breathing for at least the last 5 years.
Minecraft has revolutionized the world of multiplayer gaming. Who would have thought in this era of games consisting of bloodshed and violence, a game merely about building blocks and going on voyages could be so enticing? But this simple concept has incorporated so many aspects that it now stands to be a timeless classic. The Creative mode enables you to build anything you like with unlimited resources. The Survival mode takes you to unknown lands where you travel across worlds. You can either choose to build your own house to hide from horrible monsters, or you can craft your own weapons to fight back.
But the best part is, you don’t need to wander all alone in your journey. You can play with a number of friends either on a single server or in your personal realm. Can it get any better than this? Naturally, you ought to feel your friends should get a sneak-peak of the empire you’ve worked so hard to build. And that’s where screenshots come in.
Where Is The Minecraft Screenshot Folder?
Locating the screenshots you take in Minecraft can be a bit tricky, but here's how to do it on Mac and Windows.
- On Windows, screenshots are stored in the
.minecraft\\screenshotsinside theAppData/Roamingfolder. Go to Start, and type%appdata%in the search bar. Click on the folder that appears. Inside, you’ll find another folder named.minecraft. Open that, and you’ll find all your screenshots in a folder under the same name. And you’re all good to go! - For Windows 10, Bedrock Edition, press Win + G and open the Minecraft settings overlay. Under Game Capturing, click the camera button to take a screenshot. A notification then appears showing where the screenshot was saved. The default screenshot save folder is
C:\\Users\\<username>\\Videos\\Captures. - On macOS, screenshots are stored in
~/Library/Application Support/minecraft/screenshots. This is a hidden folder on most Mac's, so you can find it by opening Finder > Click "Go" from the Menu Bar > Then Click "Go to Folder". Copy and paste the location above and click enter. - On Linux they are stored in
~/.minecraft/screenshots
How To Take Screenshots In Minecraft
There are a number of ways you can take a screenshot in Minecraft. This also varies depending on the type of device you’re using. Here, we’ll list down how you can take a screenshot in Minecraft on different devices.
- On Most Windows PC - All you need to do is press
F2. The Minecraft screenshot folder will be located exactly where we mentioned earlier. - On Windows 10 - There are a number of different ways to take a screenshot on Windows 10. The most convenient method would be pressing the
Windows Key + Print Screen Buttonsimultaneously. (Such a keyboard shortcut works properly no matter whether you use a gaming keyboard or an average one.) - Windows Alternative - Open Xbox Game Bar by pressing the
Windows + Gtogether and then press the camera icon. These screenshots will be saved in the default screenshot folder atLocal Disk C: > Users > *username* >Videos > Captures. - On Mac - Press
CMD + SHIFT + 4simultaneously. The location, however, will be different. You’ll find your screenshot at Library > Application > Minecraft > Screenshots.
Better Alternative: Using Markup Hero to Take Minecraft Screenshots
Here’s a better solution. Instead of skimming through how you can take a screenshot in Minecraft from different devices and locate them later, why not use a single tool that is compatible with all? Using Markup Hero, you can not only capture screenshots in Minecraft but also access, edit, and annotate those whenever you wish to. You can also mark places in your screenshot to pinpoint stuff. Moreover, you can store all your Minecraft screenshots in a separate folder and organize them accordingly. And that’s not all. You can upload these screenshots and share them with your friends on the go.
Here’s how to take a screenshot in Minecraft and add annotations too using Markup Hero:
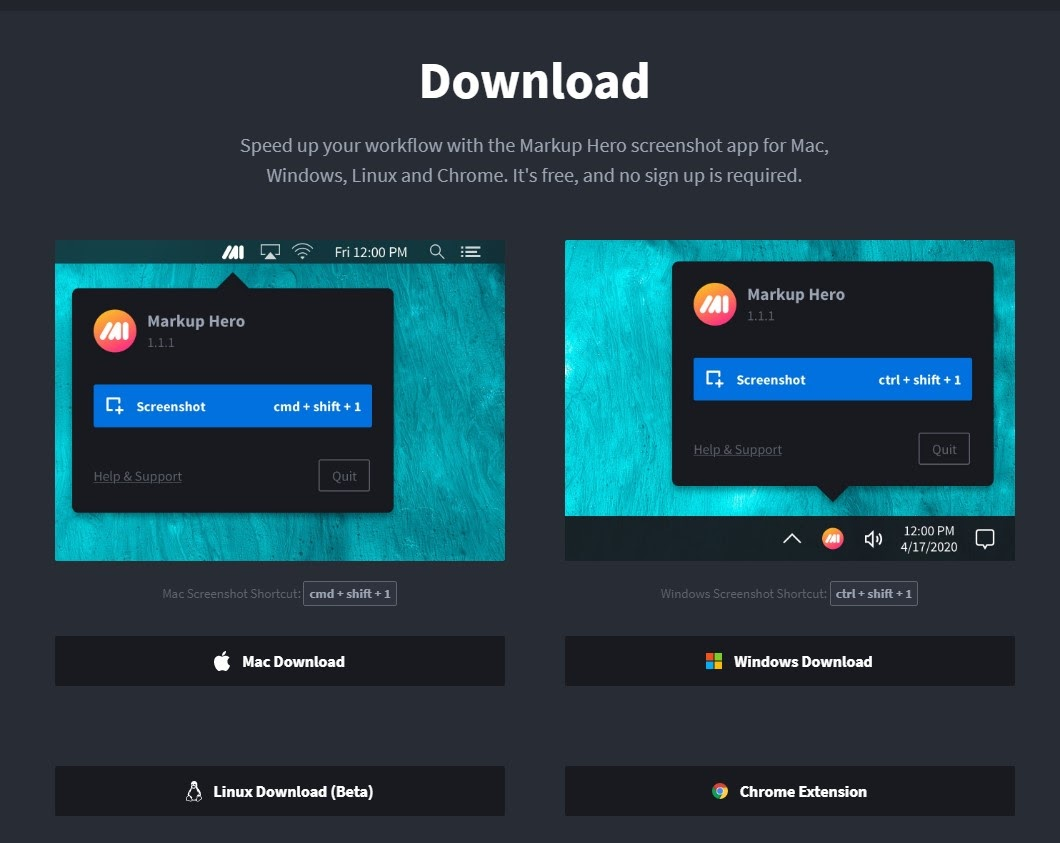
1 — Download the Markup Hero Desktop App - This is available for Windows, Mac and Linux and it’s totally free and you don’t even need to create an account.
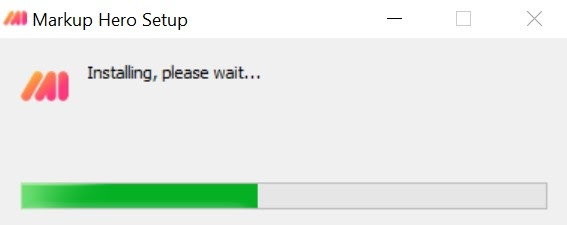
2 — Run the Installer File - Once you have downloaded the app, go to Local Disk (C:) > Users > *username* > Downloads on Windows or Downloads on Mac (or wherever your default download folder is. Then double-click the installer begin installation.
3 — Start Taking Screenshots - If you’re a Windows user, press CTRL + SHIFT + 1 simultaneously to take a screenshots. If you use Mac, press CMD + SHIFT + 1 to take a screenshot.
4 — Annotate and Organize Your Screenshots - When you capture either a part or entirety of your screen using Markup Hero, the image will be uploaded on the web. The application also offers you a number of tools to work with using which you can edit the image.

With Markup Hero, you not only get to take Minecraft screenshots easily, you can organize them for quick access, share them with friends and add your own annotations to explain your next adventure or mission.
- Take Screenshots
- Upload Images, PDF's and Links
- Add Annotations - Arrows, Text, Boxes, Ovals, Blur, Line Thickness, Color Selector and more
- Paste Images
- Create Multiple Pages
- Share Public or Private Links
- Download Image
- Export to PDF
- Copy Image to Clipboard
- And so much more...
Final Words
Your Windows or Mac device may provide you with a few ways to capture a screenshot in Minecraft, but with limited features. It's going to be a lot more fun and easier to use an application that offers rich features like Markup Hero. You can not only take screenshots but also edit and share them effortlessly. Whatever method you opt for, make sure you’re capturing the right moments and sharing images of your vast empire with your friends!