
Got a Chromebook? They're lightweight, fast and affordable. But taking screenshots can be a bit tricky and you'll be pretty limited on what you can do. Chromebook uses a Linux-based Chrome operating system, each Chromebook brand and model has different options for taking screenshots, and some don't allow for it at all.
PRO TIP: Click Here to Skip Directly to our Recommendation!
What is a Screenshot?
A screenshot, also known as a snapshot or a screencap, refers to an image that shows exactly what appears on your screen. It’s a unique feature, yet very simple. With its ease of use, a screenshot stands as one of the handiest tools the modern computer age has to offer.
For instance, your colleague wants your feedback on a new webpage they have designed. Or maybe they want you to take a sneak-peak at the new brochure they’ve put together. You could write a lengthy email consisting of all the edits you want them to make, or you could take a screenshot and mark the places that need fixing. Which sounds more efficient?
It doesn’t end here. Imagine you’re crafting an instruction manual for your team on how to use a certain online tool. You can demonstrate exactly what you’re talking about using a simple screenshot. The alternative would consist of writing a long and wordy paragraph, which, fairly speaking, is pretty redundant in this era of screenshots.
Moreover, screenshots can be extremely helpful to report a problem. If you face an issue with an app and want to contact the IT team, it’s a lot easier to provide a screenshot and show exactly what’s going wrong. This is because different devices run on different operating systems, and providing a visual helps others see what’s happening and know what could be wrong.
The list goes on and on, and by now, you pretty much know how important a screenshot can prove to be. This function is available on most devices, but how you take a screenshot can differ from one device to another.
How To Take A Screenshot On Chromebook
Depending on how much of the screen you want to capture, here are a few different ways to take a screenshot on Chromebook that might work for you:
1 — Press Ctrl + Show Windows To Take A Screenshot of The Entire Screen
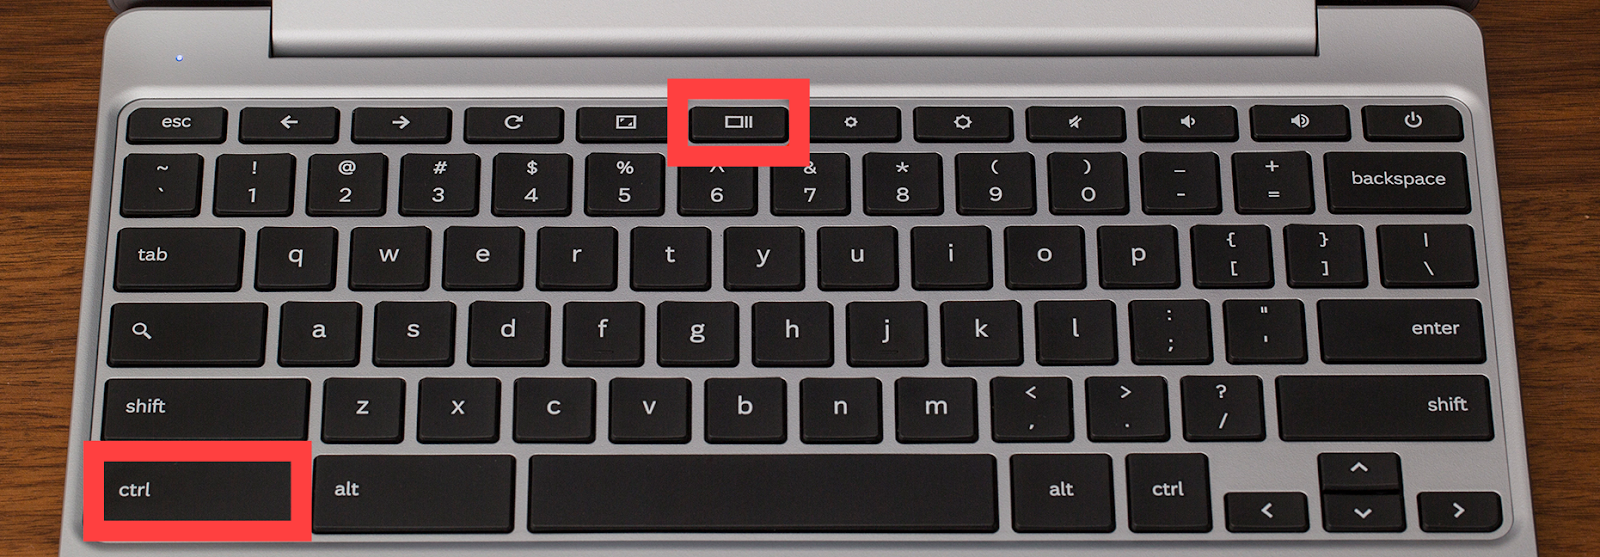
- If you want to capture the entirety of your screen, press the Ctrl and Show Windows key simultaneously. The Show Windows key is located at the top row of the keyboard and has a rectangular symbol with two straight lines on the right. This key is equivalent to F5 of a regular laptop keyboard.
2 — Press Shift + Ctrl + Show Windows To Take A Screenshot of A Portion of The Screen

If you want to capture only a portion of the screen, simultaneously press the Shift + Ctrl + Show Windows key. You’ll see a ‘+’ icon. Drag it to the part till which you want to capture the screen, and then let go.
Once you’ve taken the screenshot, you’ll see it pop-out at the bottom right corner of your screen. This can vary depending on the version of the Chrome OS you’re using. You’ll have the option to copy your screenshot to the clipboard or mark up the image.
Where Will Your Screenshots Be Located?
All the screenshots you take will go to the Downloads folder. In order to find the folder:
- Start the Launcher located at the bottom left corner of your screen.
- Select the ‘Files’ icon under the search bar.
- This icon will display your file manager. Search for the ‘Downloads’ folder under ‘My Files’ category on the left side of your screen. You’ll find all your screenshots there.
Better Alternative: Take A Screenshot On Chromebook Using Markup Hero
Your Chromebook may offer different ways to capture a screenshot, but what if you had a tool that enables you to take screenshots and more? Try Markup Hero, you can not only take snapshots but also edit, access, and annotate them at any point in time.
This helps a great deal in initiating a clear channel of communication. It also improves your efficiency and workflow. Using Markup Hero, you can sort your snapshots in separate folders, add tags and annotations, and organize them accordingly. You can also upload your screenshots and share those with your colleagues.
On a Mac, Windows or Linux computer, you can download and install the Markup Hero screenshot app. Try this first on your Chromebook. But on most Chromebooks you won't be able to download and install applications. So instead, use Markup Hero's Chrome Extension, it's free and you will get all the features mentioned above as well!
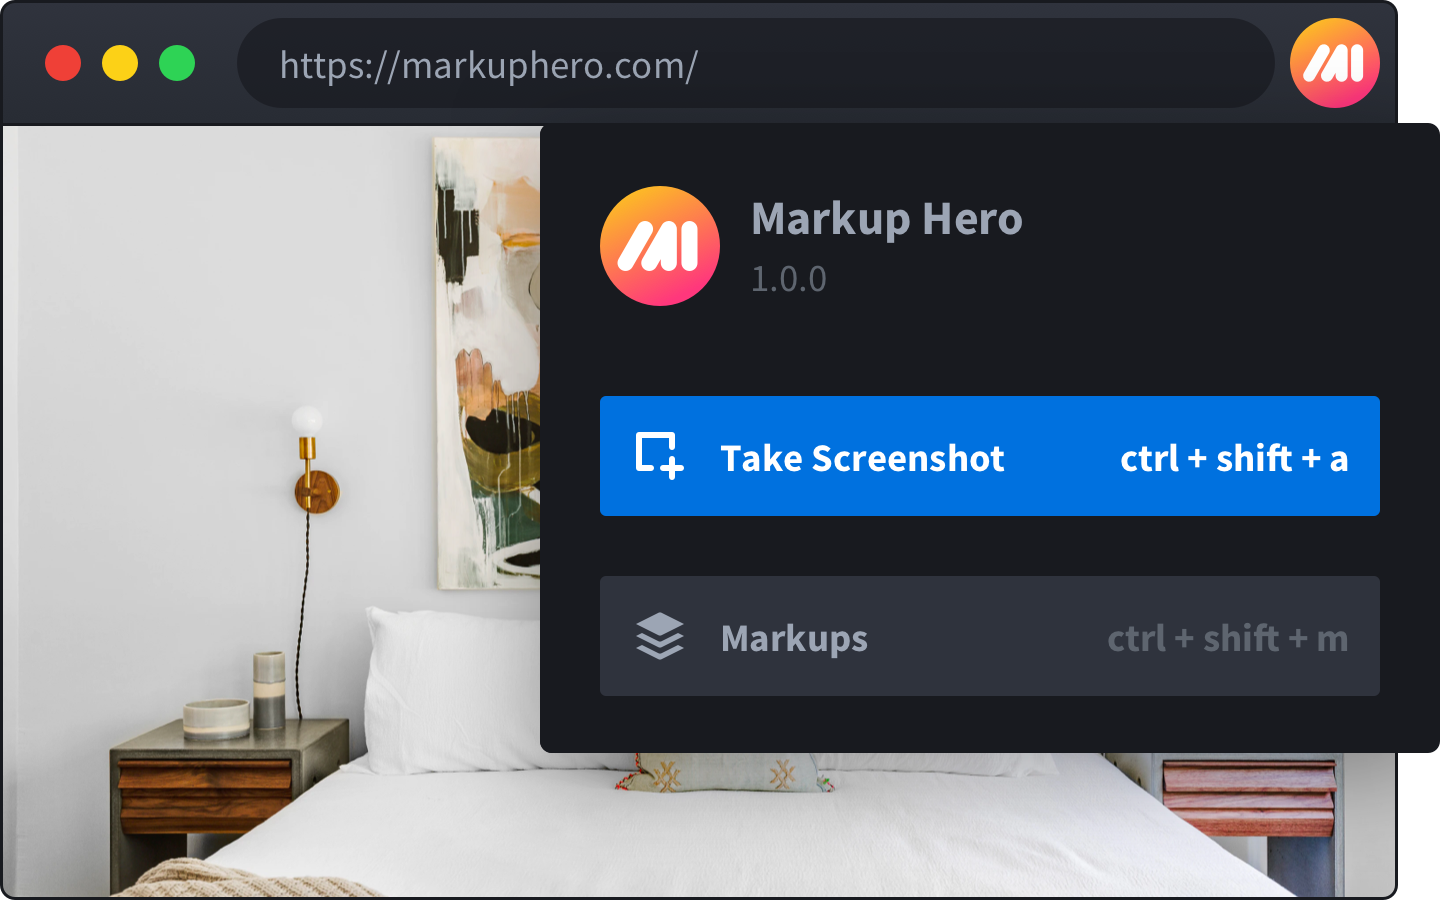
Using the Chrome Extension for Screenshots and Annotations
To install the Markup Hero Chrome Extension, just click the "Add to Chrome" button, then start using immediately. Use hotkey CTRL + SHIFT + A to take a screenshot or CTRL + SHIFT + M to view and edit your markup history.

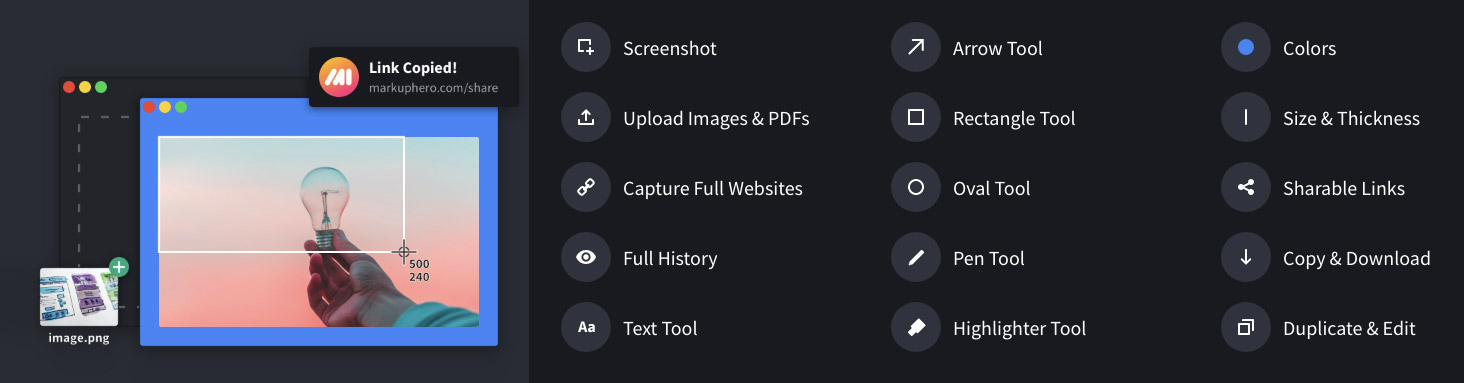
Features Include:
- Annotation Tools - Text, Arrow, Line, Rectangle, Oval, Pen, Highlighter
- Editing Tools - Colors, Font Size / Line Thickness, Move, Scale, Rotate, Undo / Redo, Delete
- Insert Images - Add images to any page to enhance your feedback or message
- Add Pages - Add and remove pages on any markup
- Share Link - Copy a unique sharable link for your image, screenshot, PDF or markup
- Copy Markup - Copy images, screenshots, or markups directly to your clipboard to paste into Gmail, SMS, Slack or you favorite communication app
- Download Markup - Download images, screenshots, or markups to store locally
- Duplicate Markup - Duplicate and edit any markup that is sent to you, or create new versions of your own markups
- Star & Tag Markups - Star & tag markups to keep all your files and annotations organized
- Privacy Settings - Toggle markups as public (anyone with share link) or private (only you)
- History - View and edit any markup at any point, from anywhere online in your web browser
In no time, you'll be taking screenshots and annotating images, PDF's, Google Docs and more with Markup Hero. And be sure to try the Markup Hero Google Drive integration which enables you to annotate Google Docs, Sheets and Slides with "one-click".
Final Words
Your Chromebook most likely provides a limited way to take a screenshot. However, using a tool like Markup Hero enables you a series of rich options. With Markup Hero, editing, annotating and sharing your snapshots become seamless. Regardless, whichever method you choose, the ability to take screenshots means you can preserve and share everything ranging from important work files to juicy gossip. Make sure you use it well!