Project management can often feel like juggling several balls at once, and dropping any can lead to disaster. Enter Trello, a visually intuitive tool that simplifies project management into manageable tasks and timelines. This guide will walk you through how to leverage Trello for project management, from creating boards to collaborating with team members effectively.
But before we get into that, have you seen this?

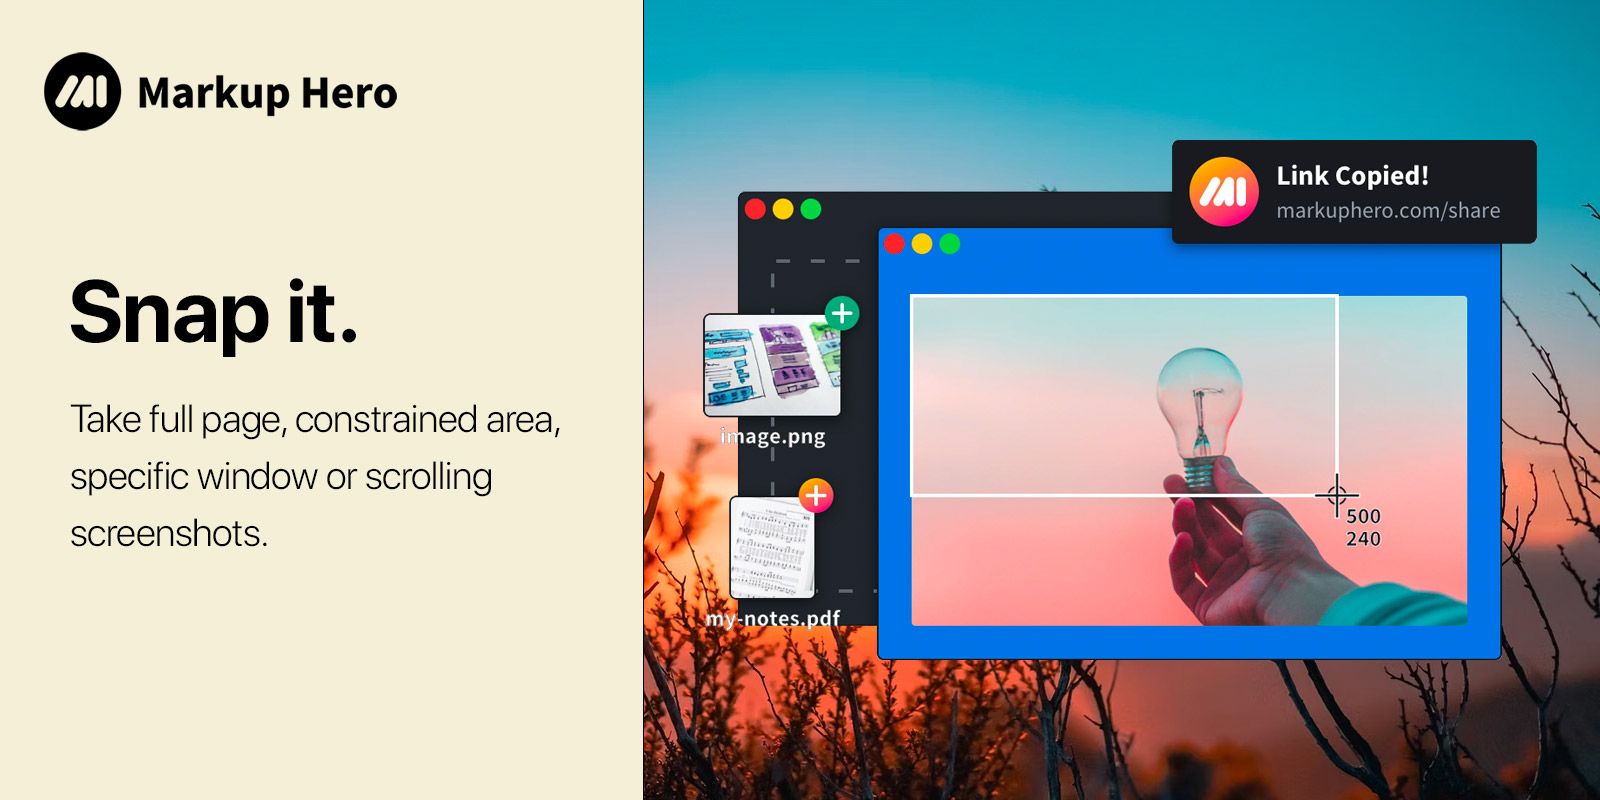
Markup Hero is a free screenshot & annotation tool made to increase productivity and improve communication. With our Chrome Extension, you can quickly take a (scrolling) screenshot of any Chrome tab, application window, or screen.
Full page scrolling screenshot, single page, sliced multi-page, PDF, or image , no credit card or account creation required. Install on Chrome Web Store Now!
Now, about that Trello project management content. Let's go 👇👇👇
Creating and Managing Boards

How to Do It in Trello
Creating a board in Trello is the first step to organizing your project. Click the "+" button in the top right corner of Trello and select "Create Board." Name your board, choose a background, and set its visibility. Boards are typically used to represent projects or thematic areas of work. Once created, you can customize columns (known as lists) to reflect phases of your project like "To Do," "Doing," and "Done."
Why This Works So Well in Trello
Trello’s board system offers a high-level overview of your project's status at a glance. It’s flexible, allowing you to tailor your boards to the specific workflow of your team or project. This visual approach makes it easy to understand what needs to be done, who's responsible, and what's been completed.
Common Pitfalls
A common pitfall is overcrowding a single board with too many tasks or projects, leading to confusion and reduced productivity. It's also easy to neglect board maintenance, resulting in outdated tasks cluttering your workspace.
Tips for Working Smarter
- Use separate boards for different projects or project phases to keep things organized.
- Regularly archive completed or outdated tasks to keep your board clean and focused.
Adding Cards and Labels

How to Do It in Trello
Cards are the individual tasks or items in your project. Add a card by clicking the "Add a card" button at the bottom of a list. You can add details like descriptions, checklists, attachments, and comments. Labels can be added to cards for quick categorization, making them searchable by color or title.
Why This Works So Well in Trello
Cards are versatile and can be customized with a wealth of information, making them the perfect tool for breaking down projects into actionable items. Labels further enhance this by allowing for quick sorting and filtering of tasks based on priority, team member, or project phase.
Common Pitfalls
Overloading cards with too much information or too many checklists can make them unwieldy and difficult to manage. Failing to use labels consistently or meaningfully can also reduce their effectiveness in organizing your project.
Tips for Working Smarter
- Keep cards focused on a single task or idea for clarity.
- Use labels strategically to reflect priorities, categories, or deadlines, and maintain a label guide for your team to follow.
Setting Due Dates and Notifications

How to Do It in Trello
Trello allows you to set due dates on cards, which is crucial for tracking project timelines. Click on a card to add a due date, and Trello will notify you as the date approaches. You can also enable email or push notifications for various actions on Trello through your account settings.
Why This Works So Well in Trello
Due dates and notifications keep everyone on track and accountable for their tasks. This feature ensures that deadlines are communicated clearly and helps prevent tasks from slipping through the cracks.
Common Pitfalls
Ignoring or mismanaging notifications can lead to information overload or important updates being missed. Setting unrealistic due dates can also demotivate your team if they constantly miss deadlines.
Tips for Working Smarter
- Use the calendar view to get an overview of all due dates across your project.
- Customize notification settings to ensure you receive updates on what matters most to you and your team.
Collaborating with Team Members

How to Do It in Trello
Trello shines in collaboration. Invite team members to your board by clicking the "Invite" button and entering their email addresses. Once part of the board, members can be assigned to cards, participate in discussions through comments, and contribute to checklists and attachments.
Why This Works So Well in Trello
The platform's simplicity and intuitiveness make it easy for teams to adopt and use. Real-time updates and notifications ensure that everyone is on the same page, fostering a collaborative environment that can adapt quickly to changes.
Common Pitfalls
Not defining clear roles or responsibilities within Trello can lead to confusion about who is doing what. Additionally, without regular communication, team members may become disengaged or miss out on important updates.
Tips for Working Smarter
- Regularly review and adjust your team's workflow and Trello setup to find what works best.
- Encourage open communication and use Trello’s commenting feature to keep discussions centralized and accessible.

Markup Hero allows you to upload and annotate offline clipboard screenshots, and share them with team members. Freelance marketers can use this tool to efficiently organize marketing campaigns, give comments or gather feedback, or even create highly engaging marketing assets.
Conclusion
Trello is a powerful tool for project management, but like any tool, its effectiveness lies in how you use it. By creating and managing boards, adding cards and labels, setting due dates, and collaborating with team members
effectively, you can transform the chaos of project management into a streamlined process. Avoid common pitfalls and apply our tips for working smarter, and you'll find Trello not just a tool, but a teammate in your project management journey.

