
It’s pretty easy to take a screenshot on Mac when all is well with your device. However, many Mac users have reported that they are not able to take a screenshot on their Mac and cannot figure out why. Here’s what you can do if your screenshot on Mac is not working.

A screenshot, also known as a screengrab, screenie, or a screencap, is an image of exactly what appears on your computer screen. Because of its unique ability to capture everything from spicy gossip to work information, a screenshot has become one of the handiest tools the internet has to offer.
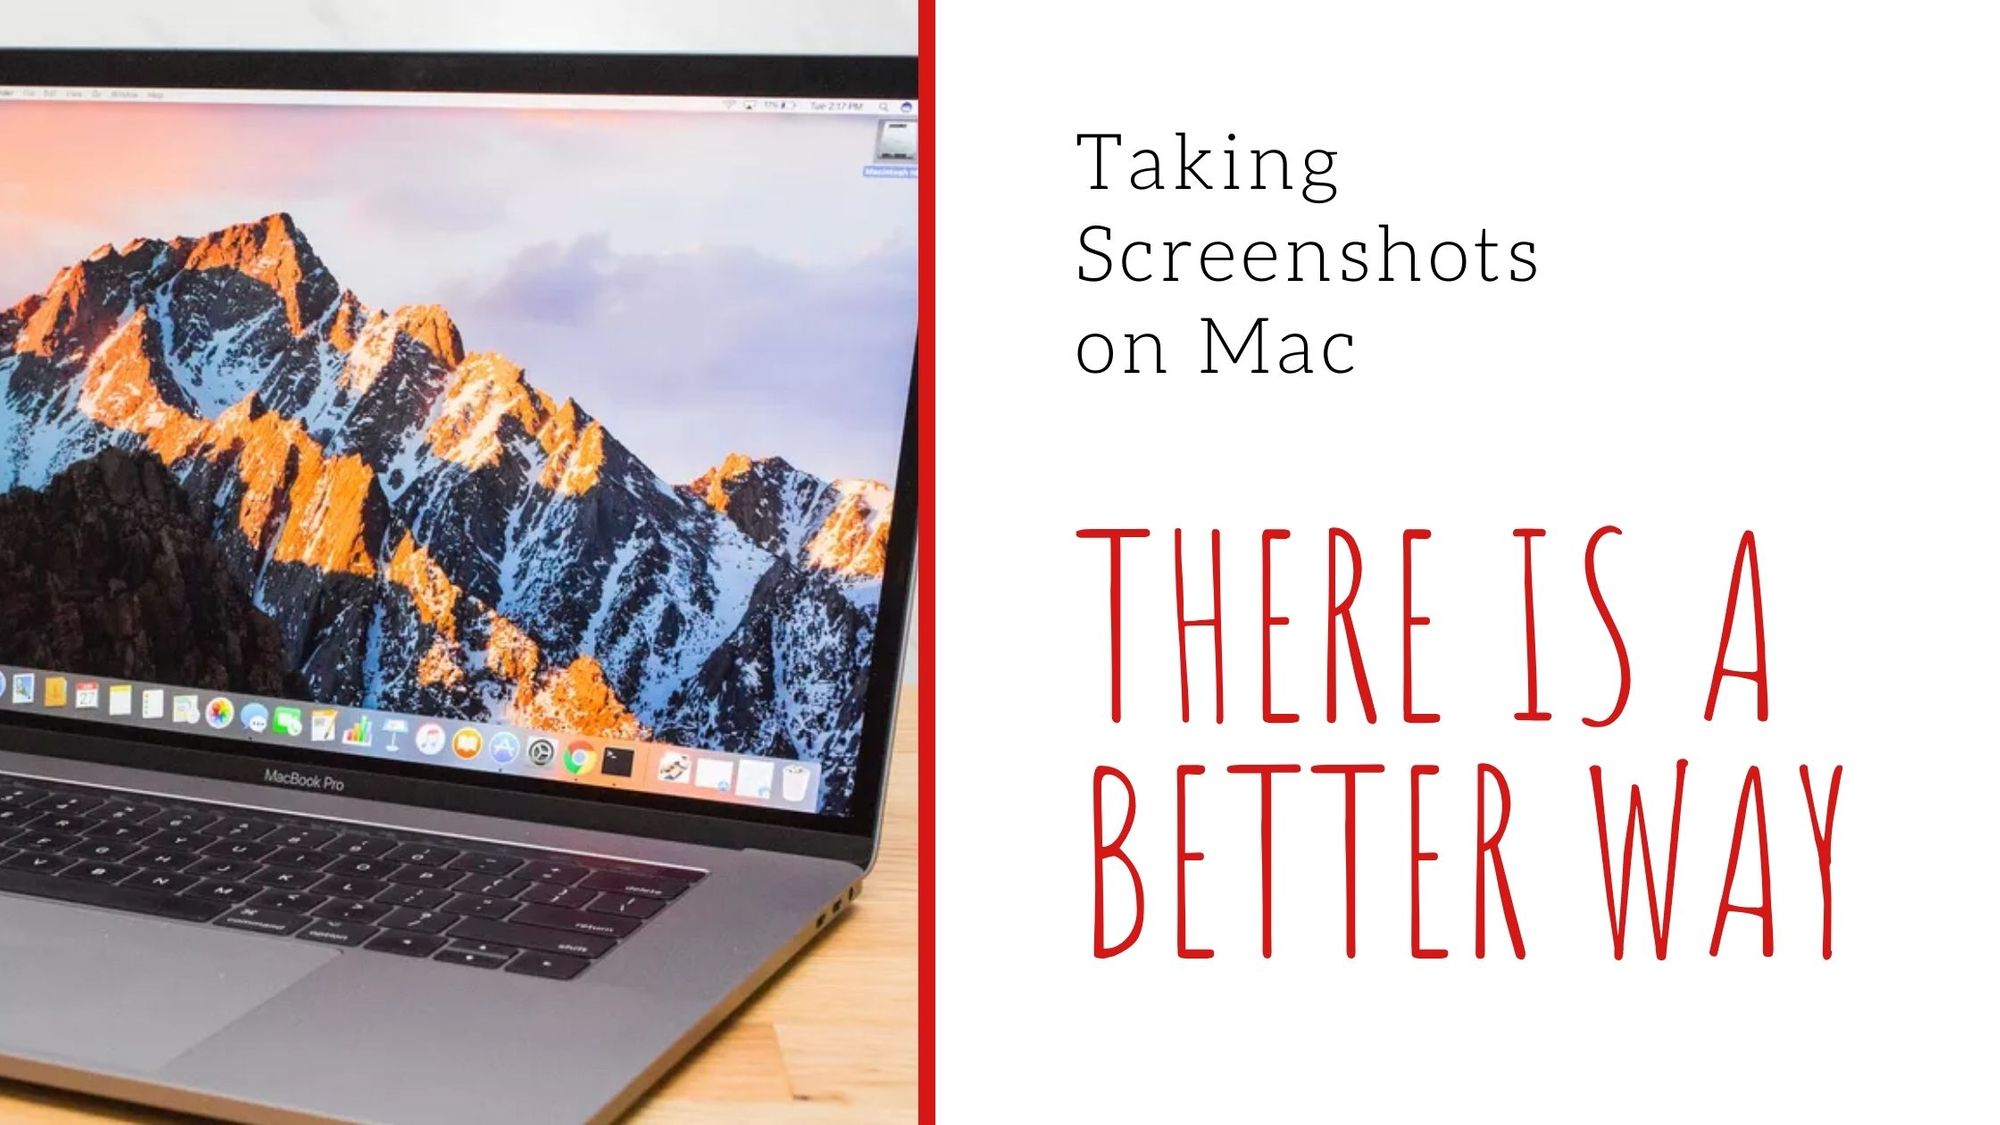
Mac computers and laptops also offer this feature on all their devices. All you need to do is press Shift + Command (Cmd) + 4 simultaneously, and Mac will take a screenshot of your active screen. However, users have often lodged complaints about not being able to capture a screenshot on their Mac device. Here are some possible solutions that may come in handy if the screenshot operation on Mac is not working.
Potential Reasons Why Screenshot On Mac Is Not Working
Before you take any action to fix this problem, it is important to diagnose why this is happening in the first place. Here are some things you can crosscheck:
- Check if all the keys required for capturing a screenshot are working fine individually. It is possible that one of them may have been damaged, hindering you from taking a screenshot on your Mac.
- Check if you have changed the default locations where all your screenshots are saved. If that’s the case, all your snapshots are being saved elsewhere but it will seem like screenshots are not working on your Mac.
- Often, other third-party applications installed on your device may prevent built-in Mac utilities from functioning properly. Check if any application is causing such issues.
- Mac devices are also vulnerable to viruses and bugs that can damage a part of your system. Check for viruses using your antivirus application and take necessary measures accordingly.
What To Do If Your Screenshot On Mac Is Not Working
It’s unusual for Mac computers to have problems in capturing screenshots. However, if you do face something like this, the following measures may help solve the issue.
- Restart your Mac device. Sometimes, keeping your computer turned on for long durations at a stretch can cause it to lag or hinder certain operations from working properly. Shut down your PC and turn it back on to see if that solves your problem.
- Go through your keyboard shortcut settings. Your keyboard shortcut may have been fiddled with at some point. To check for such deviations, go to
System Preferences > Keyboard > Shortcuts. See if the keystroke combination for capturing a screenshot has been set to anything other than the default. - Reset your device’s Non-volatile Random Access Memory (NVRAM). This function is quite similar to a restart and controls many of the internal settings of your computer.
- Go through your Dropbox settings. Sometimes, having Dropbox on Mac causes your screenshots to be saved there instead of your computer’s default location. Check to see if that is what’s happening in this case.
Better Alternative: Take A Screenshot On Mac Using Markup Hero
Instead of going through different solutions, you could try going for a one-stop solution for all your screenshots. If you don’t mind downloading an additional application that enables you to capture your screen and also edit, mark, and annotate those images, Markup Hero would be it.

With the help of Markup Hero, you can capture images, thoughts, and ideas with a simple keystroke combination. Moreover, you can mark and highlight your snapshot, organize and sort them in separate folders, and add tags accordingly.
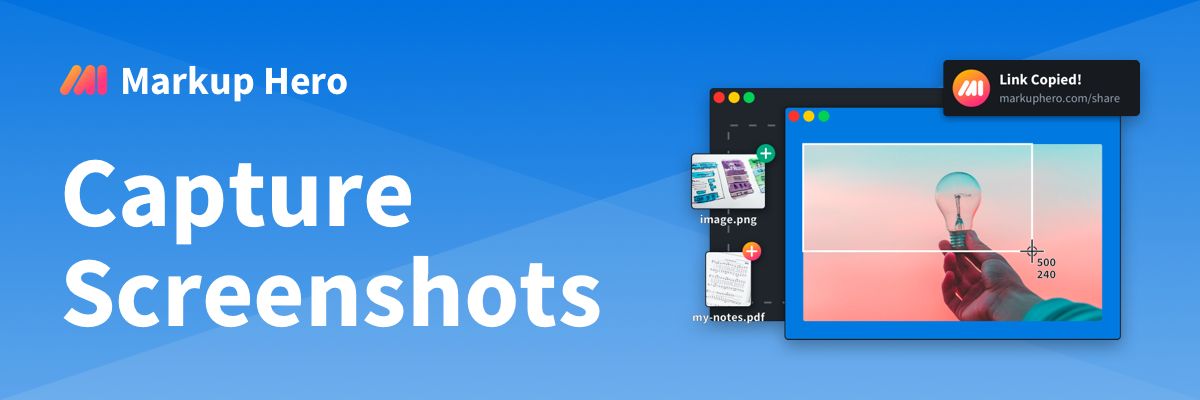
To add to it, you can upload and share all your screenshots with your friends and colleagues. This makes communication easier and workflow more efficient. Here’s how to take a screenshot on Mac using Markup Hero.

Why Markup Hero Better than the Built-In Mac Screenshot Tool
If you take any significant amount of screenshots and do any annotating at all, the Mac Preview tool is gonna outlive its welcome. Here are some things you'll love about Markup Hero.
- Images and annotations get flattened. So you can never edit annotations later.
- No history of markups or tags or filters to organize them
- No built-in link sharing or permissions
- No other file types like PDF (although you can do with the Mac Preview tool), Google Docs/Sheets/Slides, URL, etc.
- No integrations like Slack (click any image/pdf in slack to annotate) or Google Drive (click any file in Drive to annotate)
- No image insert and multi-page Mac native does have some cool stuff tho, like a signature block (coming soon) and instant view on iPhone (which we don't have, but we do have mobile web annotation so you can go between desktop and mobile freely if you are logged in.
Final Words
Mac rarely has problems with basic utilities such as taking a screenshot. However, if you’re facing such an issue and the problem persists even after you’ve tried everything, it’s better to use an application like Markup Hero that will make capturing screenshots fun as well as efficient. With Markup Hero, you can experience seamless marking, editing, and annotating.
Download Markup Hero for free and see the wonders for yourself!